Whether you are digitizing old family photos or creating a paperless record-keeping system, reformatting analog materials can be a lot of work! Here are some suggestions for what to think about when starting a project.
Documents, Photographs, Flat Art, Slides, and Negatives
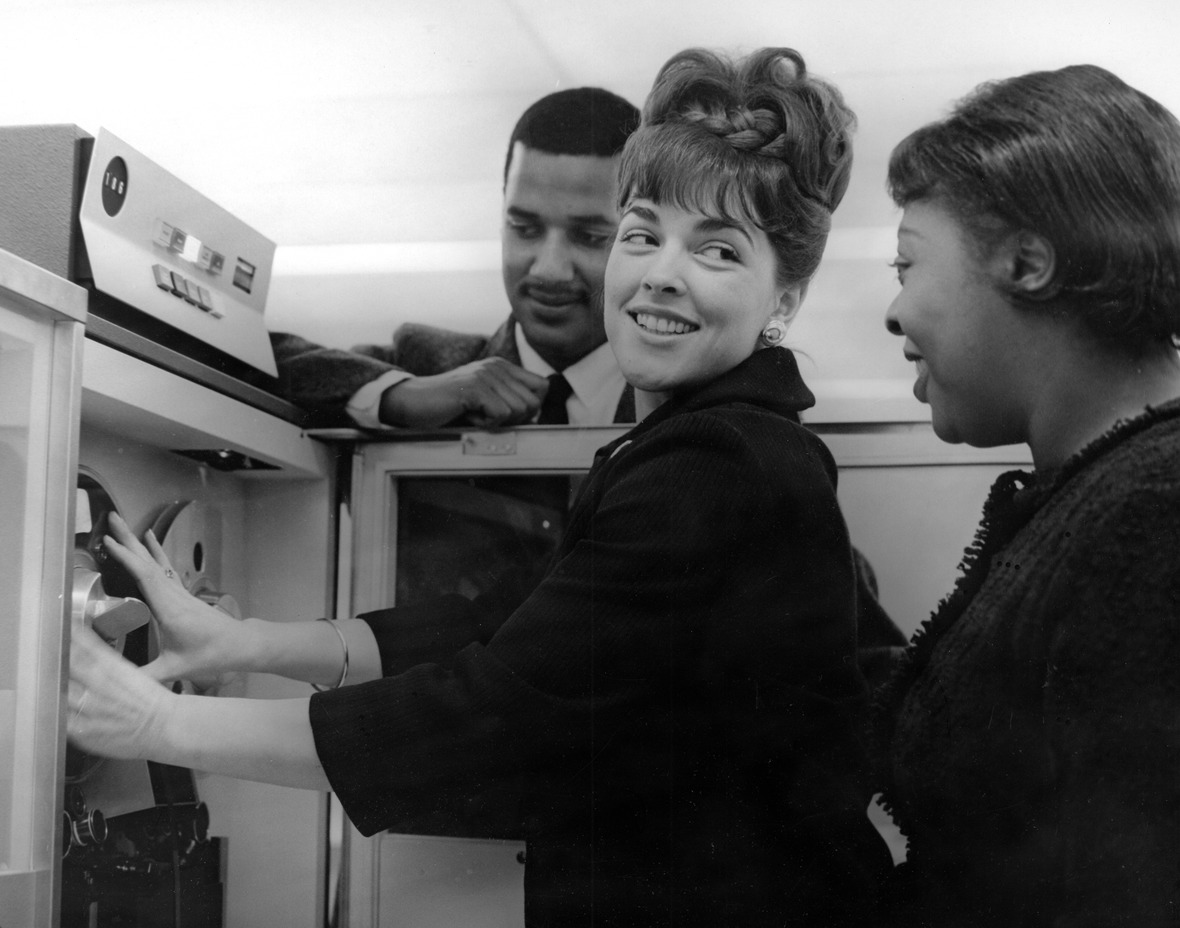
Telephone and Telegraph Company. https://repository.library.northeastern.edu/files/neu:126895
Choosing a Scanner
A paper-based document, such as a report, on normal paper can go through a sheetfed scanner.
Photographs, artwork, or material on old or delicate paper should go on a flatbed scanner.
Slides and negatives can go on specialized scanners or on multipurpose scanners.
While all of these material types can be scanned in a home or office, if you are dealing with many items, it can be more efficient to send them to a vendor.
File Type
TIFF is one of the standard file types for scanned images and an excellent choice for saving high-quality images long-term. If you would like to read more about standards for digitization, check out the FADGI Technical Guidelines for Digitizing Cultural Heritage Materials. If you need smaller files, you can use Photoshop to save TIFF images as JPEG files. The Northeastern community has free access to the Adobe Creative Cloud, which includes Photoshop and Acrobat.
PDF is a good file type for documents. Some scanners will let you save automatically to PDF. You could also save the document pages as TIFF files, then use Adobe Acrobat to combine the files into a PDF.
File Naming
Give your files unique and descriptive names and avoid spaces in the names — use underscores, dashes, or camel-case instead. Think about how the file names will sort in Finder or Windows Explorer. Some examples:
- Faculty_Report_1970_01.pdf
- ChemBuilding001.tif, ChemBuilding002.tif, etc.
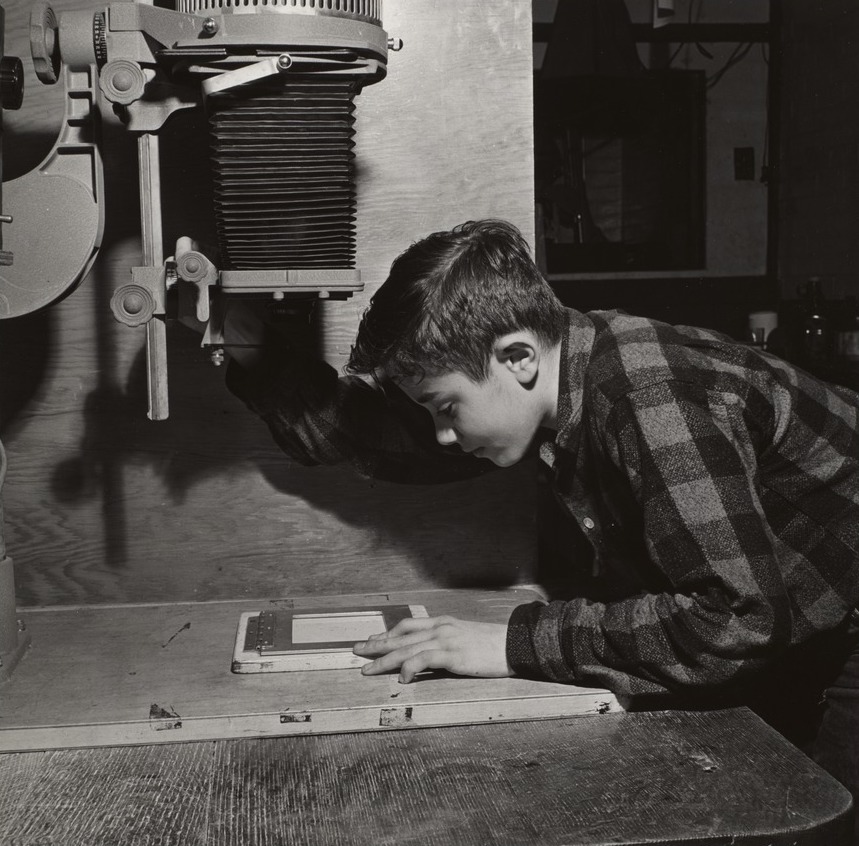
using an enlarger at a photographic laboratory. https://repository.library.northeastern.edu/files/neu:212609
Resolution
Resolution is how many pixels the scanner captures per inch of the original material. This is usually expressed in ppi (pixels per inch) or dpi (dots per inch). A higher dpi will capture more detail but will result in a larger file size.
Based on the FADGI guidelines mentioned above, for text-based materials like journal articles or reports, 300 dpi is sufficient for most uses. For photographs and more image-heavy material, use 400 dpi. For slides or negatives, use around 3000 dpi.
Black and White, Grayscale, or Color
You can base this on the material you are scanning. If the material is entirely black and white or grayscale, then you can scan in black and white or grayscale. If the item has color that you want to capture, then scan in color.
Brightness, Contrast, and Cropping
Most scanners will allow you to adjust brightness and contrast settings. If you are scanning documents, adjust until the text appears solid (not choppy but not too dark or blown out). For images, adjust until the brightness and contrast look true to the original.
Text Searchability
If you are creating a PDF, in most cases it should be text searchable for accessibility. To do this, you need to run OCR (Optical Character Recognition) on the document. For members of the Northeastern community, this is available in Adobe Acrobat.
Audiovisual Material
If you want to reformat A/V material (like VHS and audiocassette tapes) yourself, the following webinars from Community Archiving Workshop provide some guidance on the type of equipment to purchase.
However, it is often easiest to work with a vendor for A/V transfers. These materials can suffer from degradation that makes them challenging to capture. The Association of Moving Image Archivists has a directory of vendors.
In addition, the following guides from the National Archives and Records Administration can help you identify formats in your possession before you talk with a vendor. The first focuses on audio formats, like cassette tapes, and the second focuses on video formats, like VHS tapes.
Storage
For the files you create, make sure you save multiple copies in different geographic locations. For example, you might save one copy on your computer; another in a cloud-based location, like Backblaze or Google Drive; and then the final copy on an external hard drive.
You can also share files with friends and family through shared folders on Google Drive. For A/V materials, you can post unlisted videos on YouTube, so folks can only view them if they have a link.
Have any questions? Feel free to contact the librarians in Digital Productions Service at Library-DPS@northeastern.edu.