“There is always something you can do”: Voices from Northeastern’s Holocaust and Genocide Awareness Committee Archive
Since 1977, Northeastern University has hosted events dedicated to remembering and learning the lessons of the Holocaust. Since 1991, the Holocaust and Genocide Awareness Committee (HGAC) has organized these programs, with this year’s events running the week of March 16.
The records of the HGAC live in the Archives and Special Collections, and the Digital Production Services staff have been creating captions for videos available in the Digital Repository Service. We’re currently focusing on videos of Holocaust lectures and survivors.
Captioning survivor testimonies has been an emotional experience as I’ve heard people’s stories of trauma, often repeatedly as the same survivors have spoken at Northeastern multiple times. However, their stories also offer hope and advice for how to make a difference, no matter the circumstances.
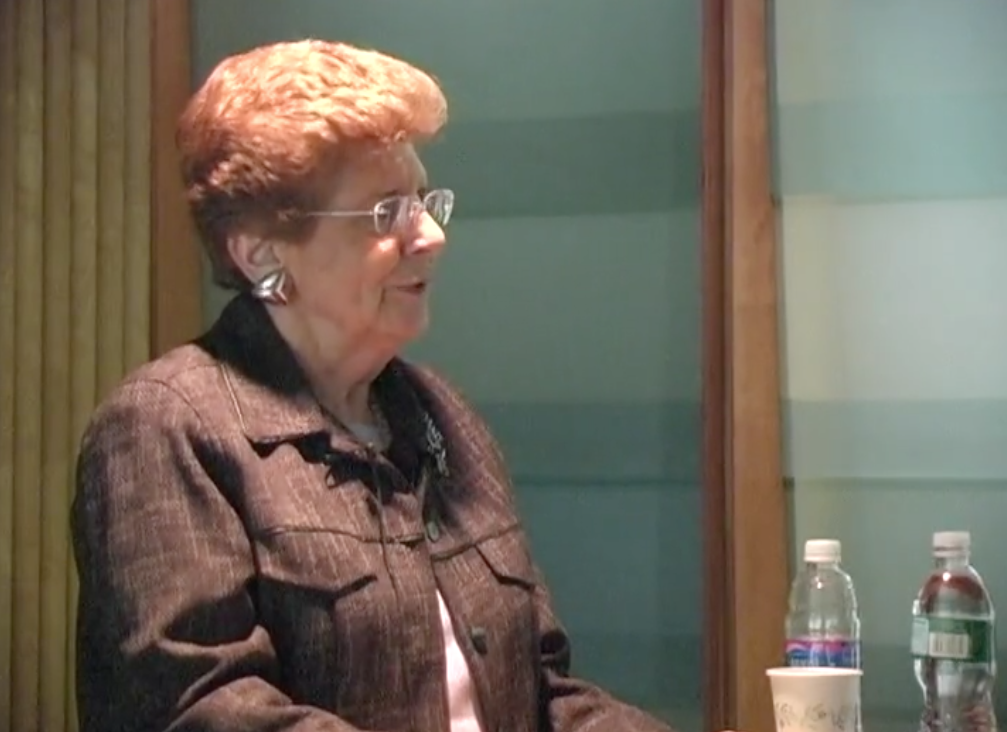
Rena Finder, a Schindler survivor, says:
“Because of Oskar and Emilie Schindler, I was given a chance to grow up, to get married, to have children and to have grandchildren. And because I am an eyewitness to some of the most horrific crimes committee against innocent people, I’m also an eyewitness to what morality and humanity and goodness can do, because Oskar Schindler had proven to the world that they did not have to stand by and do nothing, that there is always something that could have been done. Oskar Schindler and Emilie Schindler could not stand by, avert their eyes to the slaughter of innocent people. They acted on their faith, on their beliefs, [regarding] their safety, because they felt that was the only thing they could do, because to be a bystander is a bigger sin than to be a perpetrator.” (2002)
She discusses the moral impact of small acts from ordinary people:
“And this is a moral for everyone, that each and every one of you has the power to make a difference, because each and every one of you can make a decision. Not to stand by when you see injustice done, but to make changes. You have to participate…There is always something you can do. You don’t have to stand by when you see someone beating up on somebody else. You don’t have to listen when somebody makes an ethnic joke. You have the power to walk away. You have the power to say, ‘I don’t want to hear it. You can’t say that in front of me.’ You have the power to extend a hand to your friend, to your neighbor, regardless of their race or religion.” (2002)
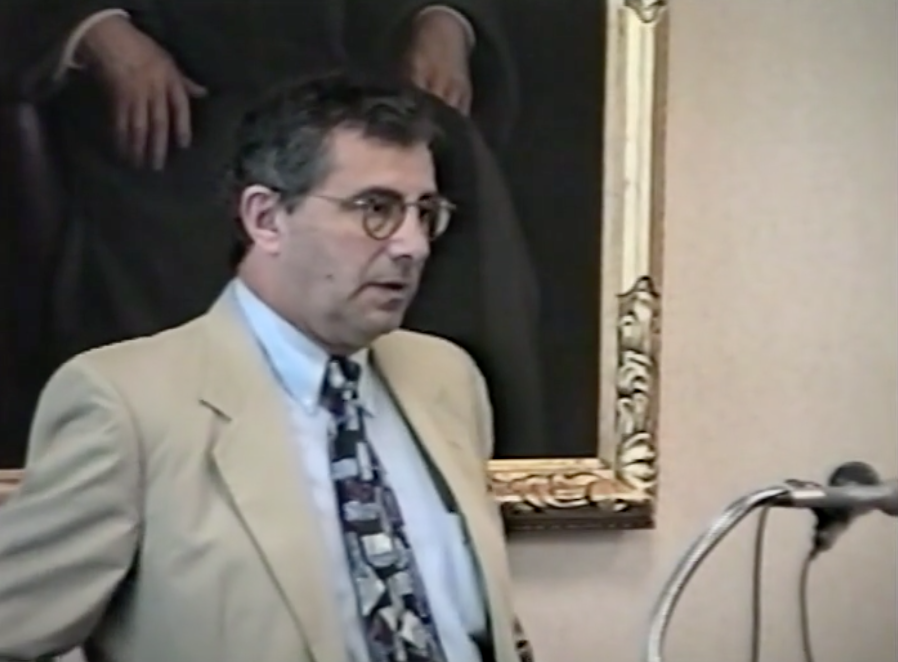
Survivor Raymond Fridmann focuses on how to have a larger influence on the world:
“If there’s one thing you should do and I say that every year here, register to vote because this is the only expression you have to make sure that you got the government of the people you choose. Do not take it for granted that your vote does not count. Your vote counts. Get educated. Get educated, for you to have jobs. Get educated and read history because if we don’t read history, we will go back into the same holes.” (2002)
Finder ends with a call to action:
“It’s really up to you. You have the power to write to the president, to the congress, to the senator. Don’t ever believe that a small group of committed citizens can’t change things, because those are the only ones that can. And you are going to become just that group that will change.” (2002)
I’m excited to make these materials more accessible, and hope these moving testimonies continue to inspire their listeners to take action.