A 2025 Retrospective on the DRS: Celebrating this past year and looking ahead to the future
The Digital Repository Service (DRS) is a dynamic place that showcases the variety of projects and scholarly work completed by members of the Northeastern community. Every year, new material is added to the DRS, including theses and dissertations, datasets, presentations, photographs, archival collections, and more. To conclude our series of blog posts celebrating 10 years of the DRS, I thought it would be fun to look back at this past year.
First, some statistics! In 2025…
- 75,851 new files were added to the DRS. There are 516,254 files total.
- 1,567 new users signed onto the DRS.
- 1,557,614 interactions (views, downloads, and streams) occurred.
- The most popular file was The effect of athletic participation on the academic achievement of high school students, a thesis by Robert F. McCarthy. It had 13,912 total interactions.
Next, I wanted to put a spotlight on some work completed this past year. This blog post focuses on projects related to Digital Production Services (DPS), the department I’m a part of.1 DPS is responsible for the day-to-day management and upkeep of the DRS.2 Our work this year involved collaborating with different groups, departments, and people across the university, adding new collections and files to the DRS and completing metadata updates to existing collections, among other things.
Collaboration across the university…
- Mills College Art Museum (MCAM): Collection images and exhibition catalogs from the museum were added to the DRS. MCAM, located in Oakland, was founded in 1925 and its collections include over 12,000 objects. Highlights include Californian and Asian ceramics and important works by prominent women artists. To learn more about the museum, visit their website.
- Civil Rights and Restorative Justice Project (CRRJ): Cataloging work continued this year, and new items were added. This project showcases collaboration between many different people at Northeastern, including the School of Law, Archives and Special Collections, the Digital Scholarship Group, and DPS. To learn more about the work of the CRRJ, visit their website. Read more about this work in blog posts written by Archives Assistants Stephanie Bennett Rahmat and Annie Ross.
- Electronic Theses and Dissertations (ETDs): Every year, new theses and dissertations showcasing the breadth and depth of scholarship at Northeastern are added to the DRS. In 2025, 577 were added. To break this down by college:
- College of Professional Studies: 175
- College of Engineering: 154
- College of Science: 71
- Bouvé College of Health Sciences: 70
- Khoury College of Computer Science: 57
- College of Social Sciences and Humanities: 34
- College of Arts, Media, and Design: 16
- New collaborations: DPS worked on projects with the Center for Contemporary Music and the American Sign Language & Interpreting Program.

Work related to the Northeastern University Archives and Special Collections…
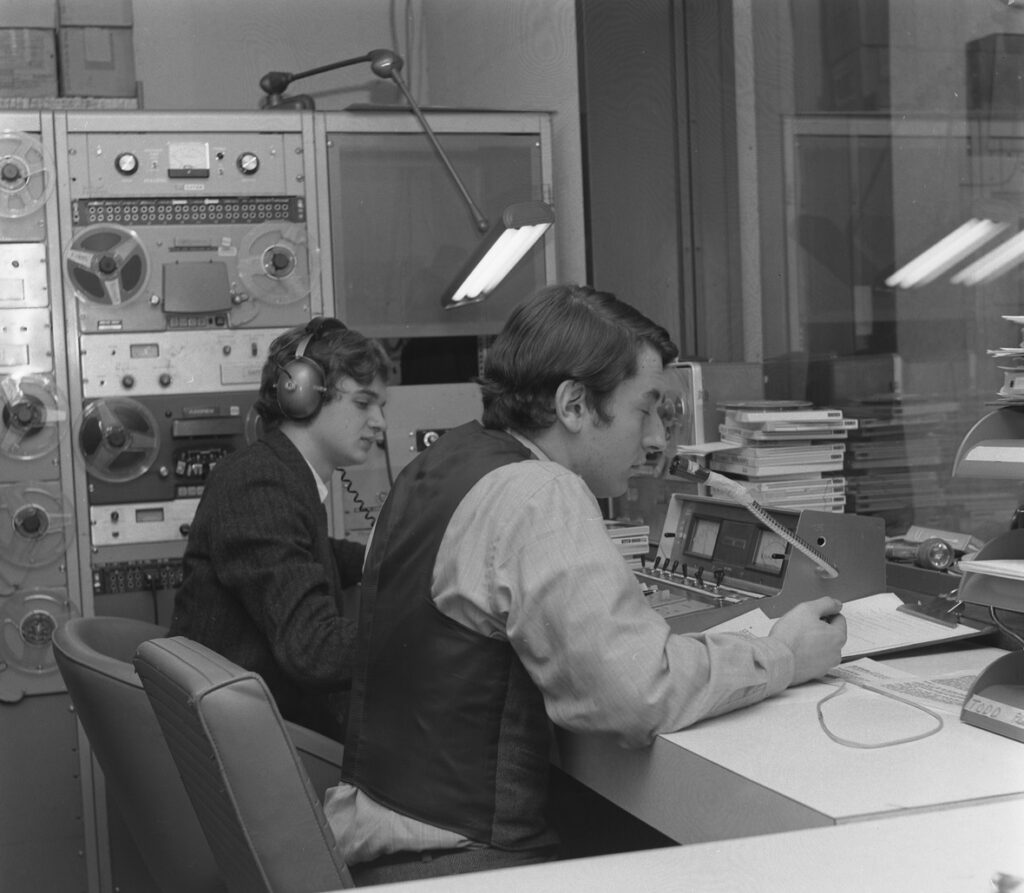
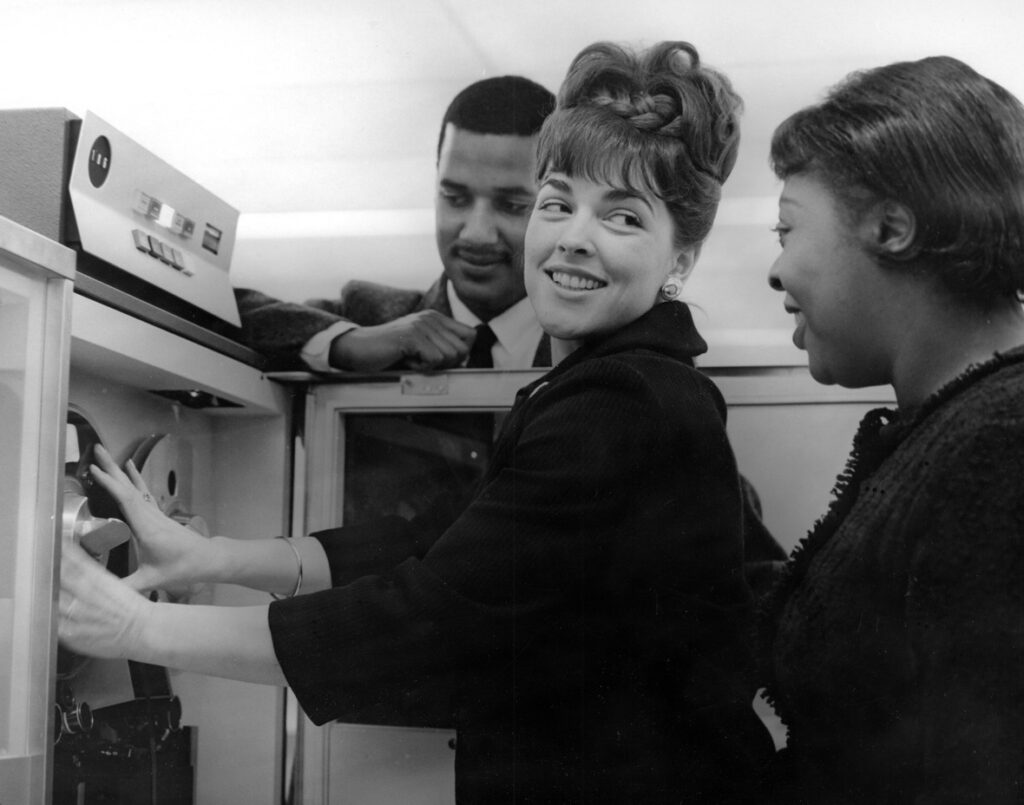
- Urban Confrontation (Office of Education Resources at the Communications Center) and Issue and Inquiry (Division of Instructional Communications): Two radio programs were added to the DRS. Both programs originally aired on Northeastern’s WRBB and highlight public affairs issues and other challenges facing Americans in 1970-71. To read more about this work, check out this blog post by Chelsea McNeil, a former metadata assistant.
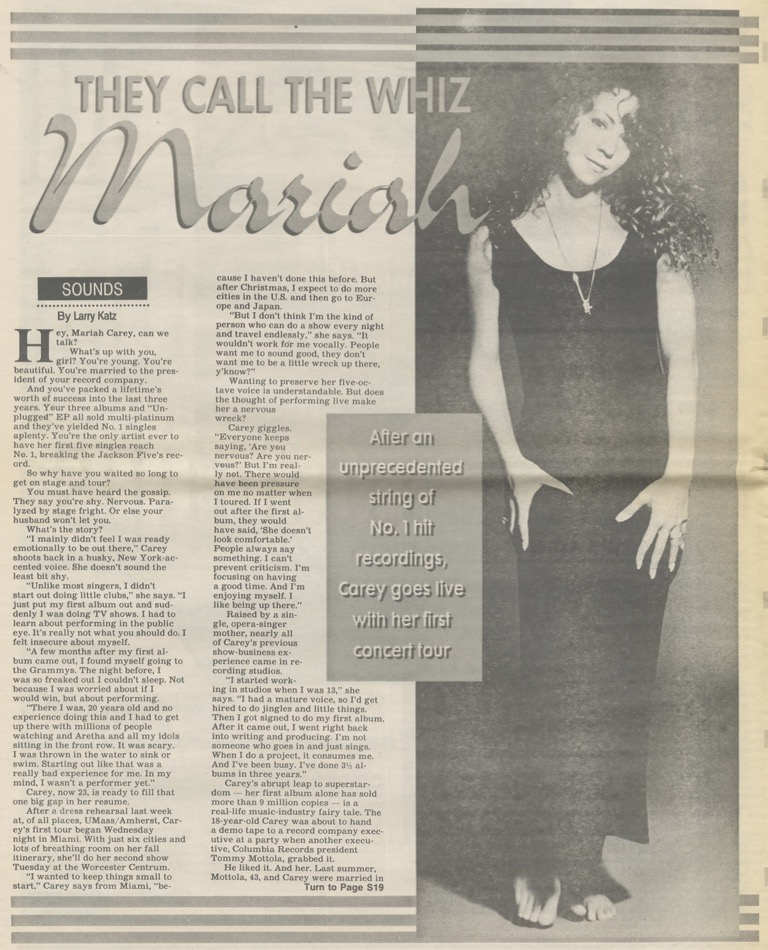
- Larry Katz Tear Sheets: Tear sheets (documents that provide proof of publication) were added to the Larry Katz Collection. In this case, the Katz tear sheets are the newspaper articles or clippings Katz wrote for The Real Paper and the Boston Herald. Katz’ interviews were previously added to the DRS. With the addition of the tear sheets, new connections can be made between the interviews and articles.
- Freedom House: New items were added to the Desegregation and Education sub-series of the collection. If you’re interested in learning more about community activism, busing, and desegregation in Boston Public Schools and efforts to provide all children with equal access to educational opportunities, this sub-series is a great starting place.
- Boston Gay Men’s Chorus (BGMC): New audio and video recordings (mainly of performances) by the BGMC were added. A portion of the college is holiday concerts, and though we’re past the holiday season, I can’t help but recommend listening to some holiday music (or put this on your to-do list for later this year!). Here’s a link to “Home for the Holidays,” the 2001 holiday concert. To learn more about the BGMC, visit their website.
- The Cauldron: New editions of Northeastern’s yearbook were added. The Cauldron was first published in 1917 and is also available to browse through the Internet Archive.
- Reference scans: Archives and Special Collections (NUASC) scanned over 46,000 pages of material for researchers this past year. These scans are now being incrementally added to collections with minimal metadata to make NUASC’s records more accessible. To learn more about this work, read Grace Millet’s blog post. So far, 8,584 pages have been added to NUASC’s DRS collections for:
On the horizon…
I wanted to wrap up this post by previewing the collections, projects, and collaborations for the DRS in 2026.
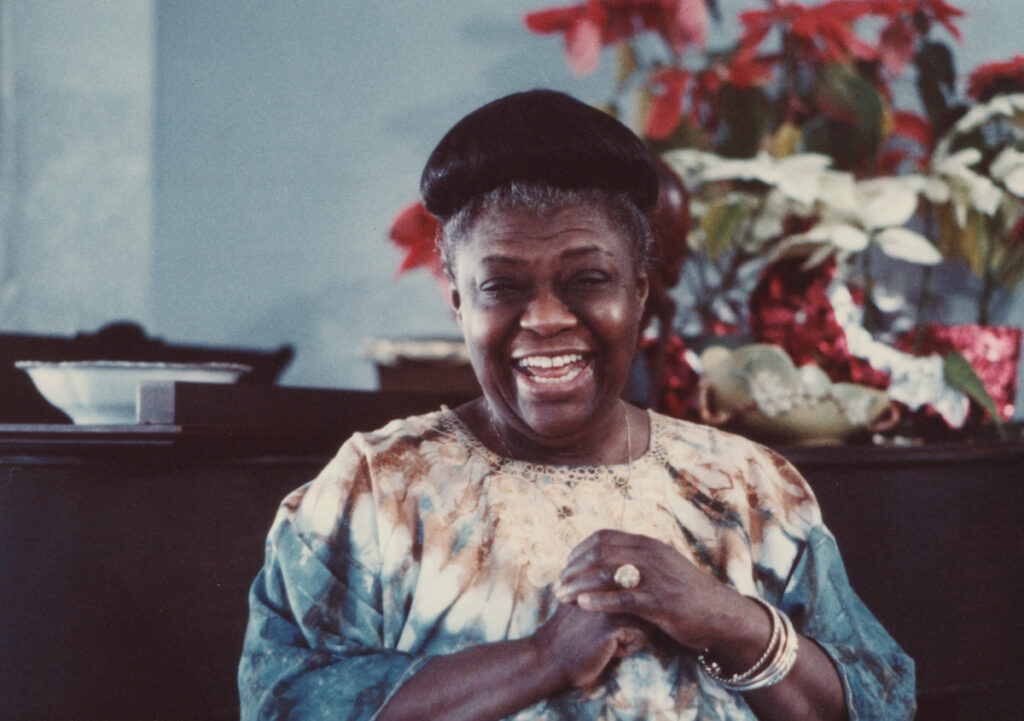
Work has started on the digitization and description of collections related to Elma Lewis, founder of the Elma Lewis School of Fine Arts (1950), the National Center of Afro-American Artists (1968), and the Museum of the National Center of Afro-American Artists (1969). Through these institutions, she shaped and influenced Black art, artists, and performers in Boston and beyond. This work is made possible by a Community Preservation Art grant from the City of Boston. To learn more about this work, read the blog post written by Giordana Mecagni, Head of NUASC, and Molly Brown, Reference and Outreach Librarian.
Metadata updates are currently in progress for the WFNX Collection, which mainly consists of clips and episodes from The Sandbox, a beloved morning radio program that aired on WFNX, a radio station broadcasting in the Greater Boston area from 1982-2012. These updates are expected to be completed early this year.
Planning has begun for DRS v2. There are many improvements planned for behind the scenes and changes that will impact how users interact with the DRS. We’re excited to get the ball rolling and sharing more about this work in the future.
It’s an amazing accomplishment to reach 10 years, and a testament to the passion and dedication of the Northeastern community. We look forward to the next 10 years, which will bring new challenges, collections, opportunities, and collaborations.3
If you’re interested in depositing your materials to the DRS, or working or collaborating with DPS, please email library-DPS@northeastern.edu — we’d love to hear from you! To read more about DPS services, visit our departmental directory.
Footnotes:
- There are so many different communities, groups, and people that work on and contribute to the DRS. This blog post is only able to capture a snapshot of all that goes on. ↩︎
- Many library staff members work alongside DPS to support the DRS. To learn more about the people behind the DRS and the DRS itself, read What is the DRS and who is it for? by Sarah Sweeney, Head of Digital Production Services. ↩︎
- A big thank you to my colleagues in DPS (Sarah Sweeney, Drew Facklam, and Kim Kennedy) and NUASC (Molly Brown) for their help and feedback, which contributed greatly to this post. ↩︎


